Resolved Sample 5 - ideas
I was interested in designs using triangles that came from architecture for this sample, particularly the effects achieved by using panes of glass in structures. I liked the pattern in the structure shown in the photograph below, especially how the panes of glass 'fitted' together.

In the next two photographs (below), some triangular patterns were also evident, but the colours reflected off the panels of glass really caught my eye...

In the third image (below), I could see that a pattern in the way the panels of glass fitted together could possibly be developed into an idea for my resolved sample, plus the image also showed the range of colours produced when light was reflected off glass. I decided that this would be the image I worked from for my final design.

My ideas for the design from my notebook.
These show my thinking in how I could 'fit' the triangular shaped prairie points together, to echo the patterns in the original photo, and also how the colours reflected off the glass could be interpreted into lines of stitching, using automatic patterns.

Once I decided I had a viable idea to work with, I thought about how this might be constructed, using white organza as my background fabric. The designs show how I was trying to show either the front or reverse side of the prairie points (in the first picture) and by the second picture, how I was thinking that some space might be left between some of the prairie points, as this seemed much more interesting.

This design definitely needed a mock up (shown below), so that I could see how to piece the prairie points together and also to explore whether any raw edges showed. This wasn't totally successful, but I decided to make up the resolved sample anyway.

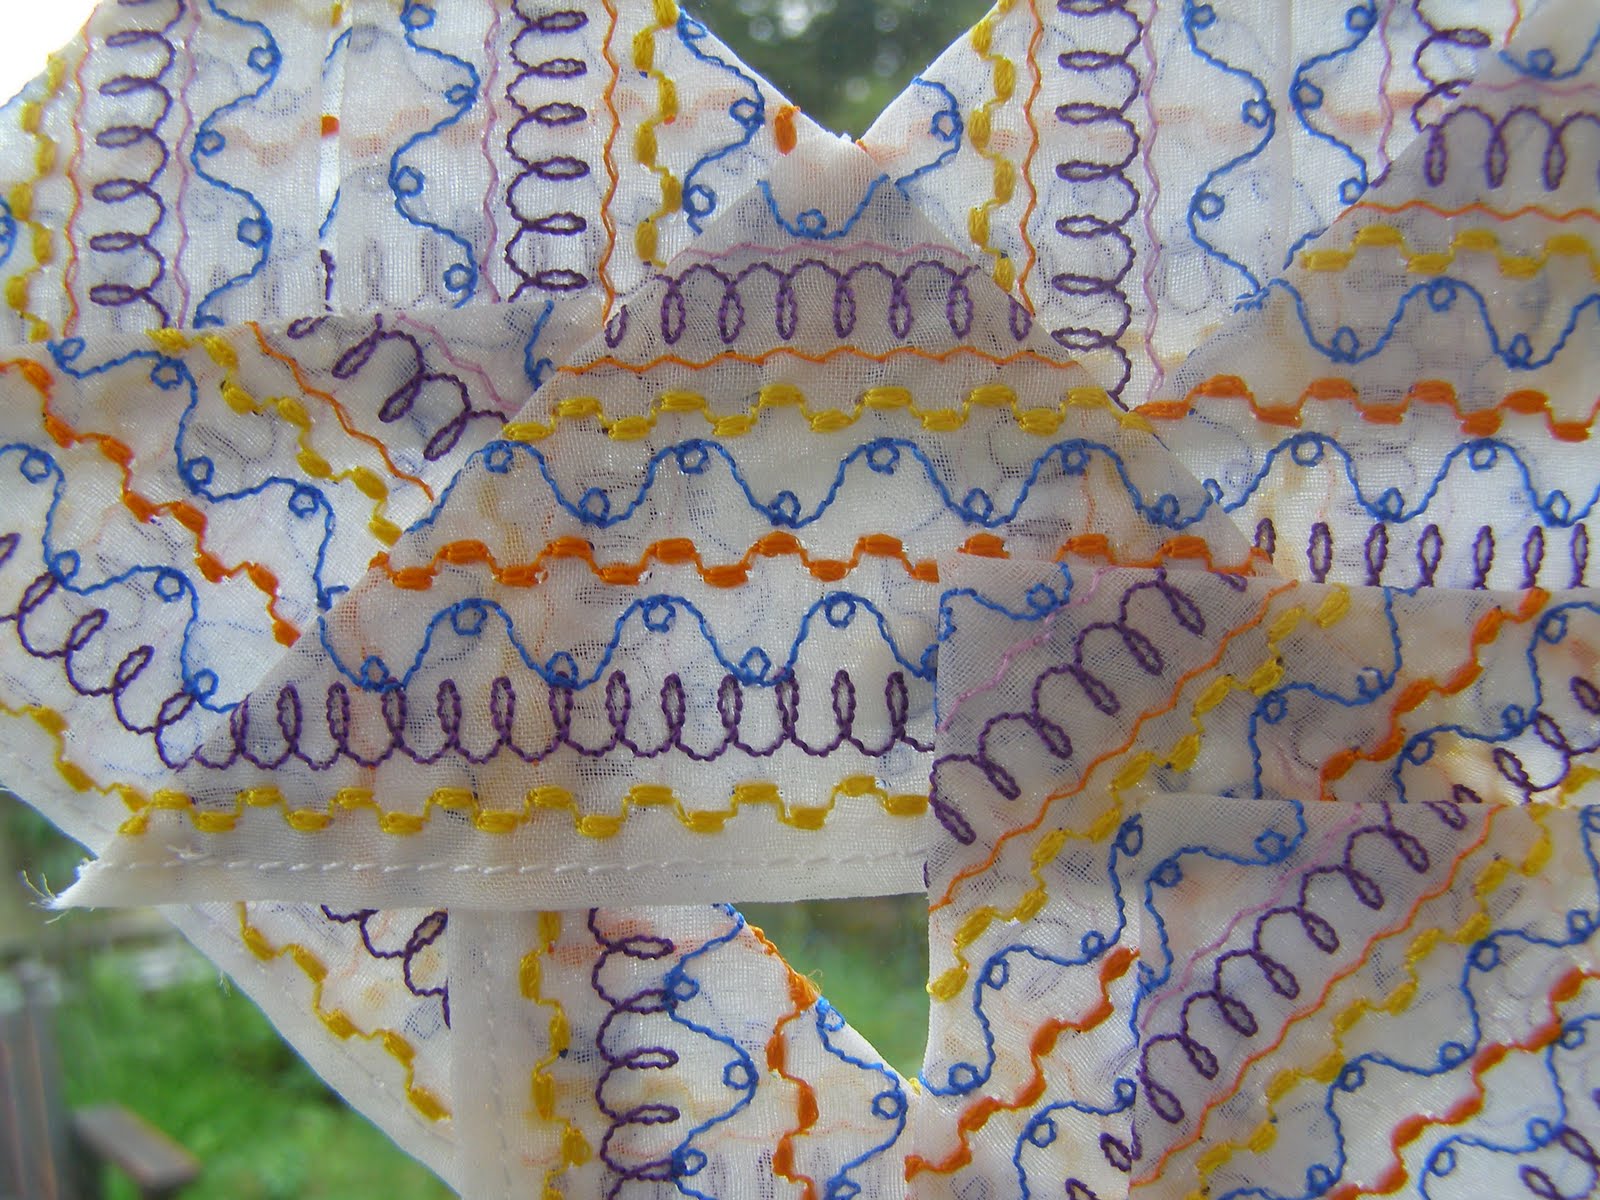
Sample 5 - Resolved sample on organza
Materials Used:
White organza
Stitch No. 173 in purple (1122)
Stitch No. 173 in purple (1122)
Stitch No. 178 in blue (1134)
Stitch No. 153 in yellow (1024) and orange (1278)
Zig zag stitch (width 1.1 & length 2.0) in lilac (1080) and orange (1278)
Total time spent = 8 hours

The photo above shows the completed sample, photographed against a window, to let the light pass through the fabric. The organza wasn't as translucent as I had first imagined it would be, due to being folded over to make the prairie points, so the transparent effect I was aiming for wasn't really realised. Although the colours mimic the ones seen in the original photograph, their effect is a little too stylised. Perhaps this needed a more 'freestyle' type of stitching to be more successful?
Also, I wasn't sure whether the design I had chosen meant that raw edges were showing, even though I had turned over the bottom of the prairie points so that it didn't look untidy.
I would possibly try this again if I could find a much more translucent fabric, perhaps one that was also coloured and more shiny!

Close up of resolved sample (above and below)
I decided to try the exercise again, using a different starting point as inspiration.
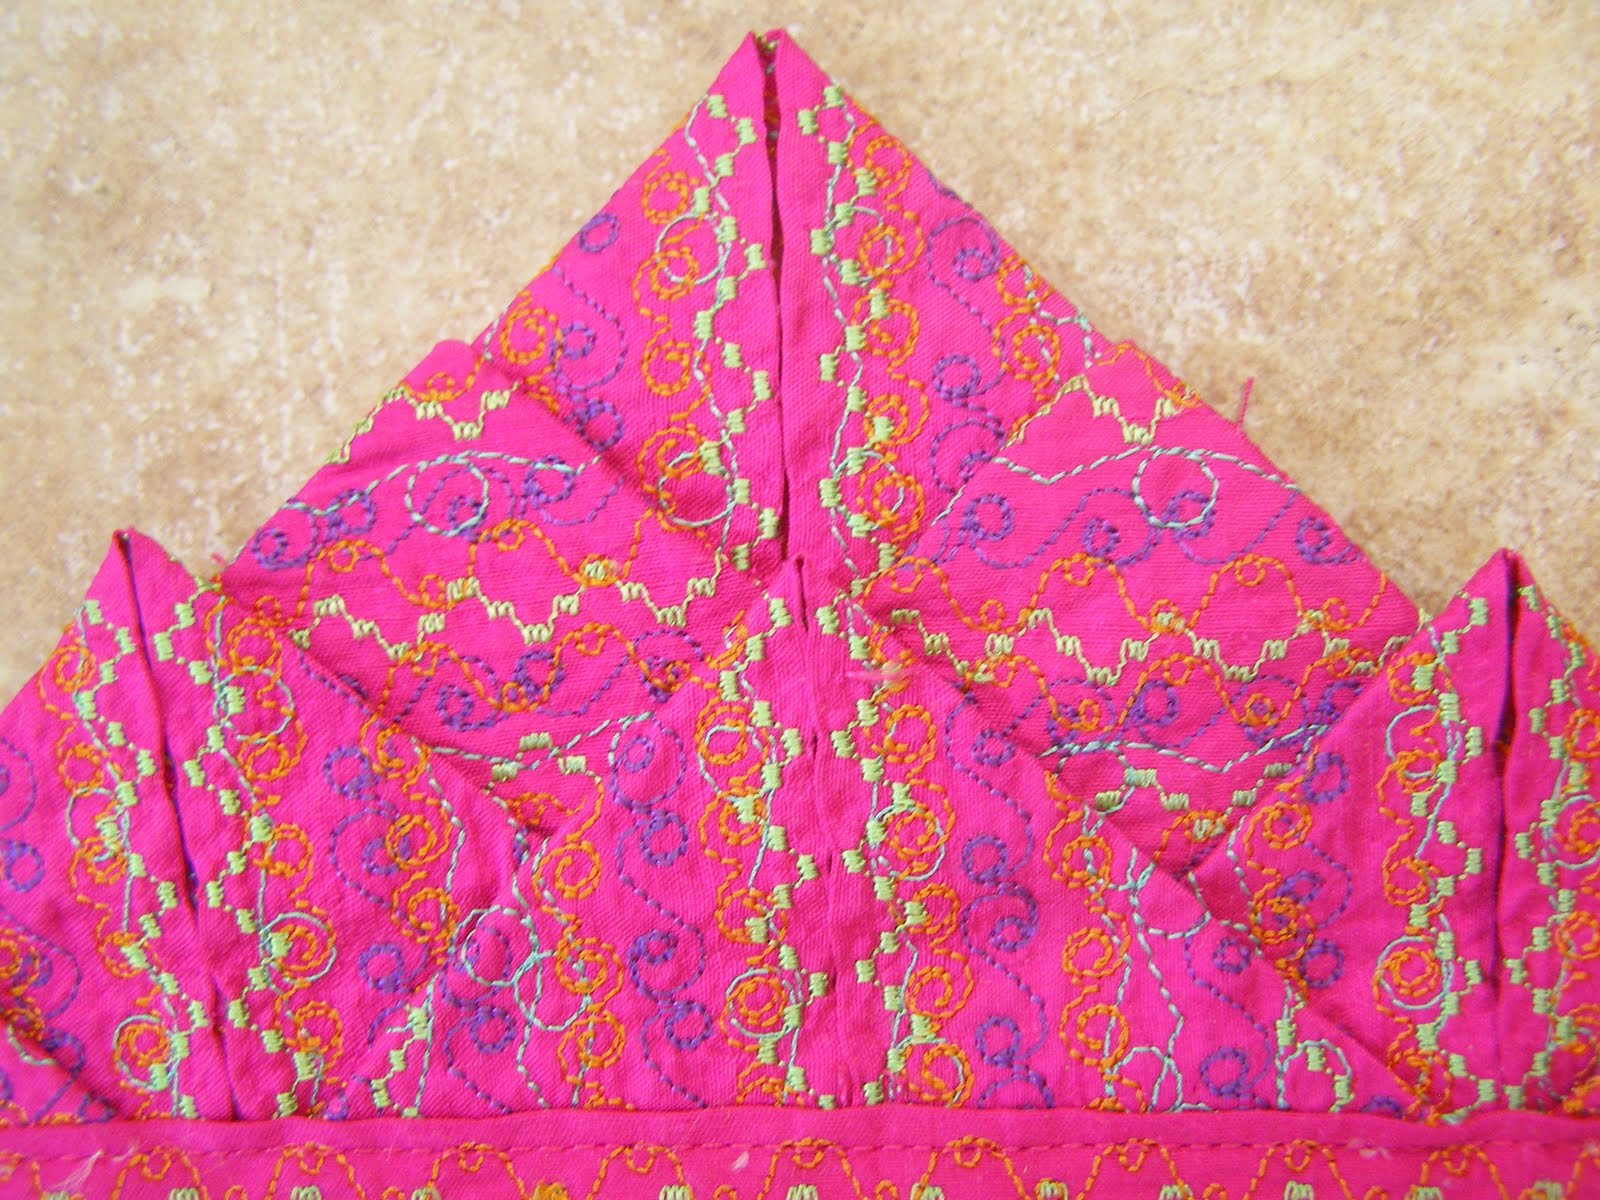
Sample 6 - Resolved Sample on Blue Silk
As I wasn't totally happy with my first resolved sample, I decided to try another idea and design...

Once I decided that I wanted to use these ideas in my design, I started to play around with the patterns to form my own one.


Pictures of the completed resolved sample

A closer view of the sample (below)

A close up view of the stitching (below)


Final EvaluationI was much more pleased with the final result for this resolved sample, maybe because I liked the strong colours that I used and also because it did reflect the original spirit of the henna designs that I wanted to portray. The blue silk that I chose does have a sense of Morroco about it, and the bright thread colours fit in with this effect and give energy to the final design. I think that using one bead to embellish each point, rather than three was the right choice, as I wanted the main focus to be the colours that I used, not the beaded decoration. I also think that building up the design, so that it wasn't a strip with a single row of prairie points made this more interesting to look at.
Total time spent = 7 1/2 hours
Other Uses for Prairie Points
If the points has raw edges and were made from a fabric that frayed, an interesting 'fringing' effect could be created to a border or edging.
Rows of prairie points could be used as decoration around the edges of an inner panel on a cushion or quilt.
I would still like to explore how prairie points could be made on more transparent or translucent fabrics and then use these as hangings against windows, so that the stitching could be seen from both sides and so that light could shine through them.
A strip of prairie points could be sewn together vertically on a cord, perhaps as a Christmas decoration?